Add your own title and intro here (Change this under Settings -> General -> Tagline)

Tag: embedding video

Inquiry post #3 GIMP Editing Workshop

In today’s adventure we moved away from anything video related to 1) give my brain a break from editing so much video and 2) to try something intimidating to me in another way: photo editing.

I have shied away from photo editing for a long time because my partner is a photographer and if I ever need anything edited he is my go to. Today I decided to take matters into my own hands and edit a photo myself. Or, as the workshop decided, edit 4 photos myself. Please walk with me through this journey.

What

GIMP is a photo editing software that is on a similar level to Photoshop, but free. Historically it has been seen as the less powerful younger cousin, but in recent updates its abilities have increased and I found it a very useful tool. I will be working with GIMP 2.10.

To use this software you need to download it to your computer (it is free, as I mentioned before and the downloading process was very straight-forward). The workshop I followed led me through a series of four edits to make with four different photos. This process taught me how to crop and centre photos, how to make a photo black and white (and alter gradients and brightness in more than one way), how to expand the background of an image to fit a larger canvas, and how to work with text on photos.

Edit #1

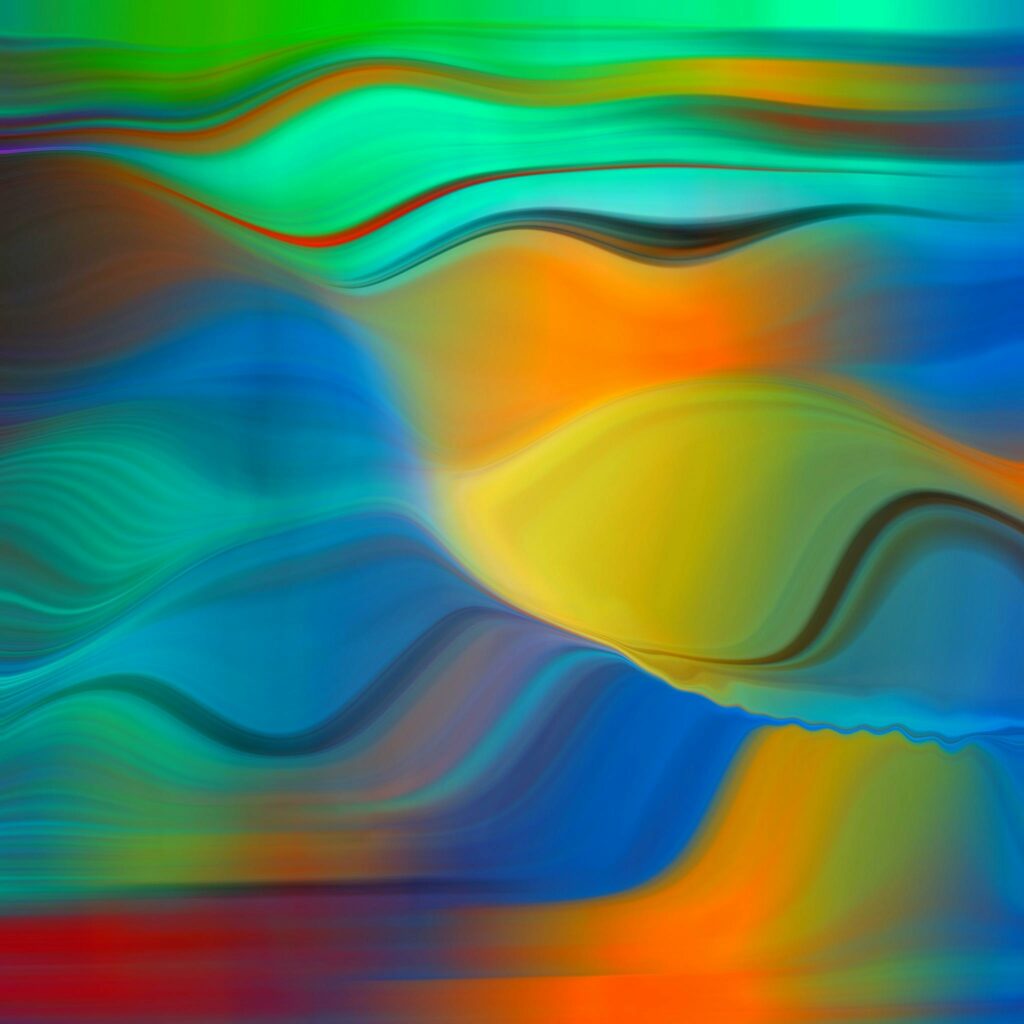
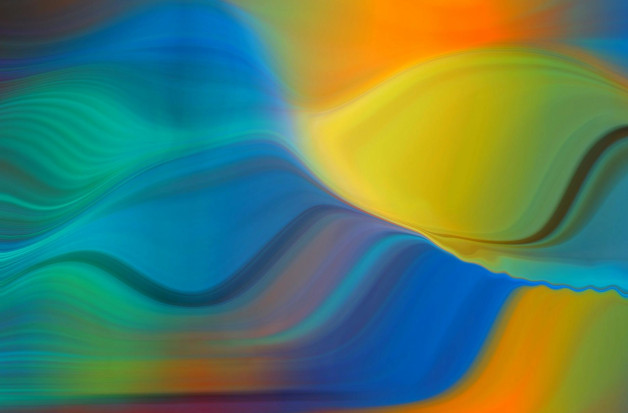
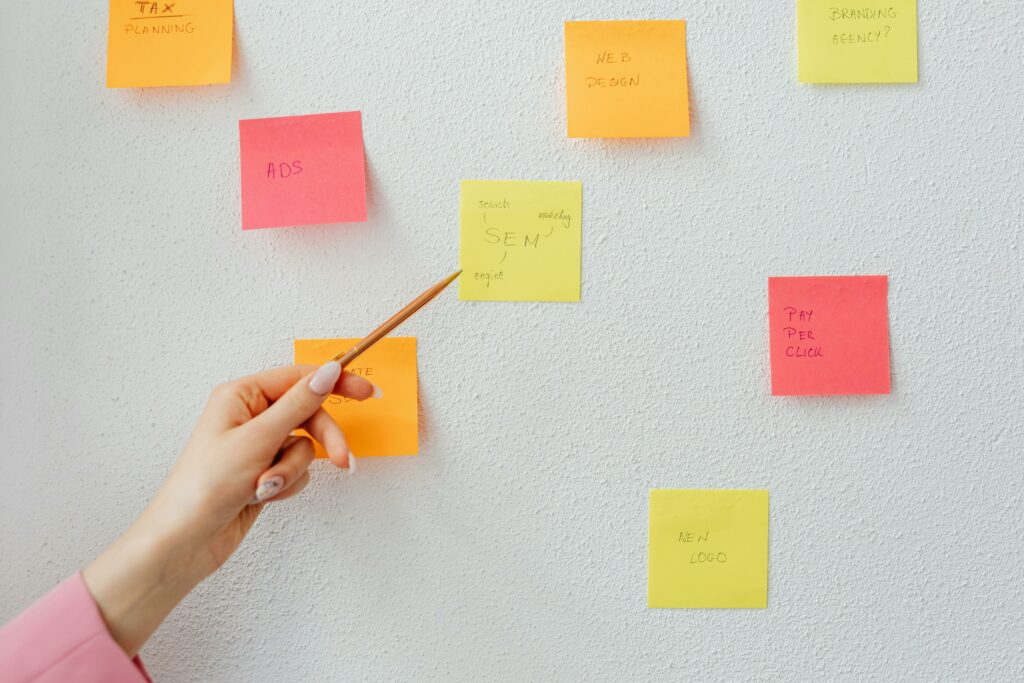
This is my first photo edit, the photo on the left is the original photo from Pixel and the photo on the right is my edited photo where I cropped it down. This was really easy for me, I have cropped hundreds of photos before and it was straightforward in this software. What a lovely change from my previous tech tutorials!

Nonetheless, here is a quick screen recorded video of me doing just that for your entertainment.

This was quick, simple, and got my confidence up for the next activities….was it false confidence? Let’s find out!

Once this was over I moved on the activity #2.

Edit #2

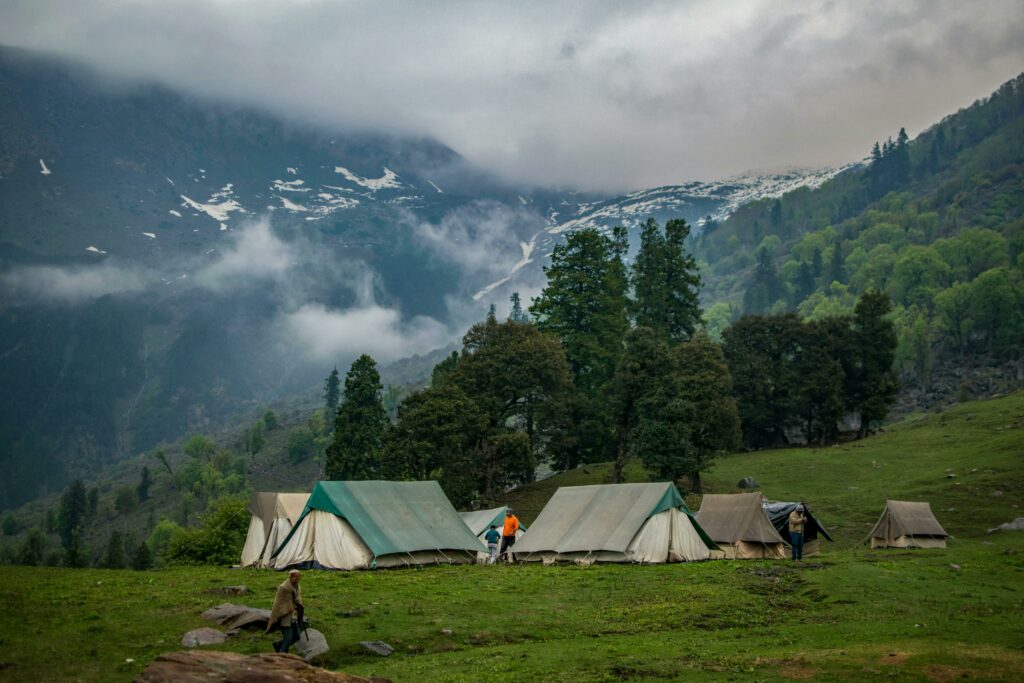
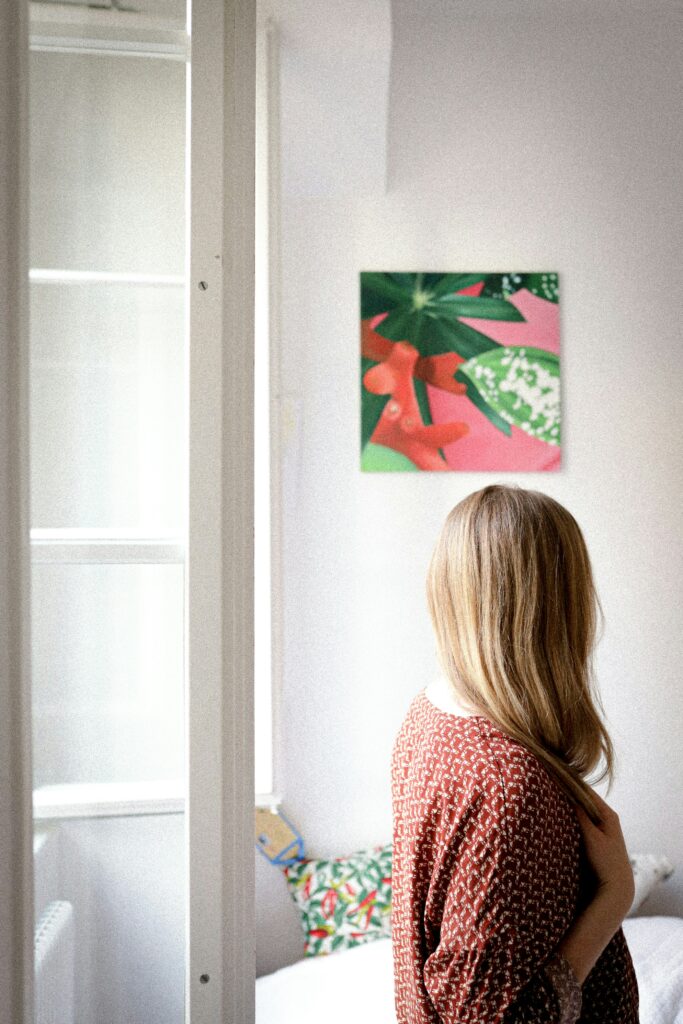
The second edit is by far my least favourite product I will post here. I left the photo oversaturated but did not realize until after I exported the image and compared them side by side (see below). I did, however, feel really great about my ability to remove the screws in the post. This is something I feel I will come back to GIMP to do with other photos when there are components I would like to blur out. (Face-tune anyone????)

Here is a sped up video of me trying really hard to figure out how to do this. As you can see there was a lot of back and forth between the workshop site and my GIMP software to work this one out but I am confident that I could do it again without assistance. This software is fairly straightforward and the drop-down menus are helpful when you are looking for something.

Edit #3

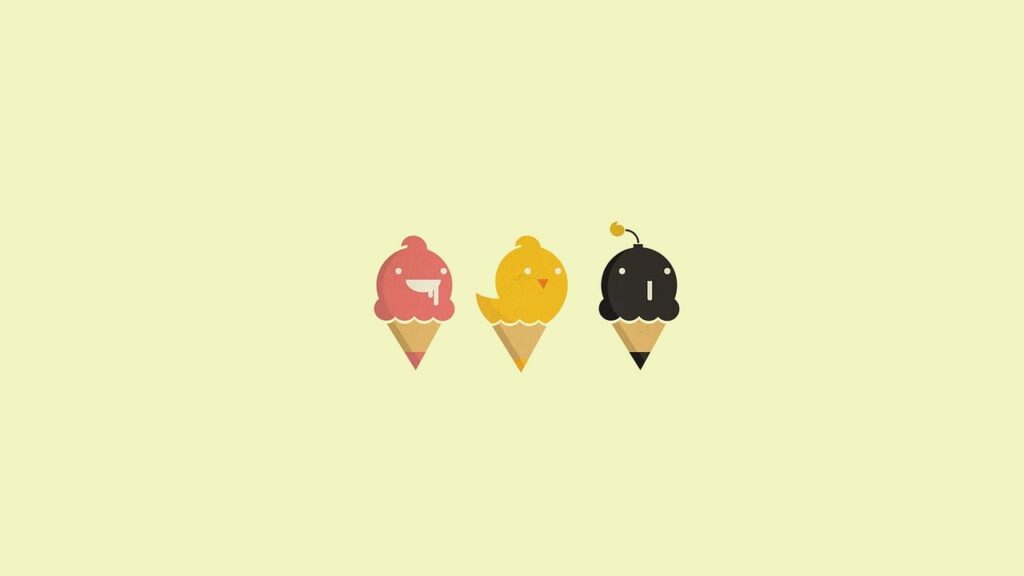
This edit taught me a brand new skill! I was able to take this cute photo and turn it into a letter sized page in GIMP! I was able to keep the aspect ratio the same and not blow up the image but keep the background colour the same across a larger canvas. This is a great skill to have and something I can see myself using in the future to create cute boards to laminate and have my students draw on, spruce up some worksheets, or create a smoother finish to put student work on before putting it up in my classroom.

Please enjoy this video of me creating my masterpiece.

But really though, how cute would this look as the background to a Spanish workout sheet about summer vacation plans?

I felt this went pretty smooth but it was not until I went back and looked at this video that I realized how much I was panning back and forth between the GIMP software and the workshop site. I may need to refer back to this site next time I use GIMP which is ok with me as I will have access to this site for a while.
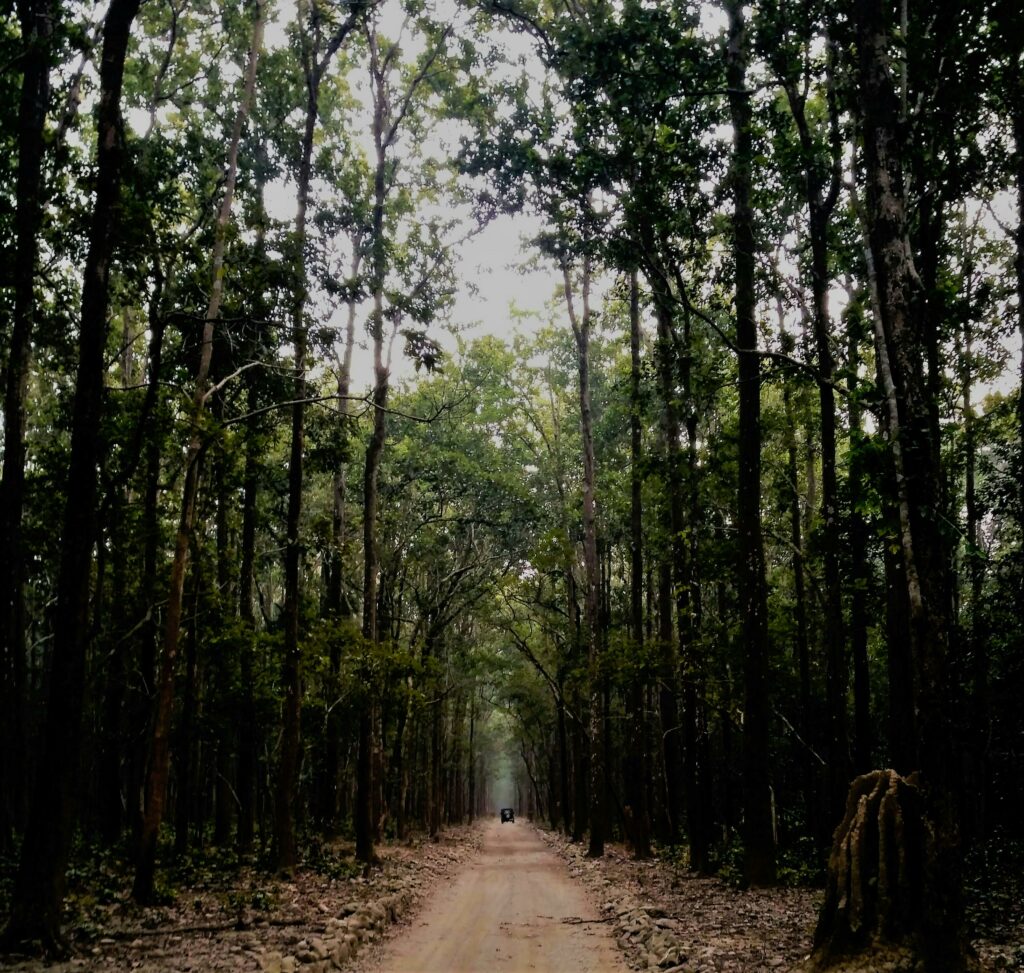
Edit #4

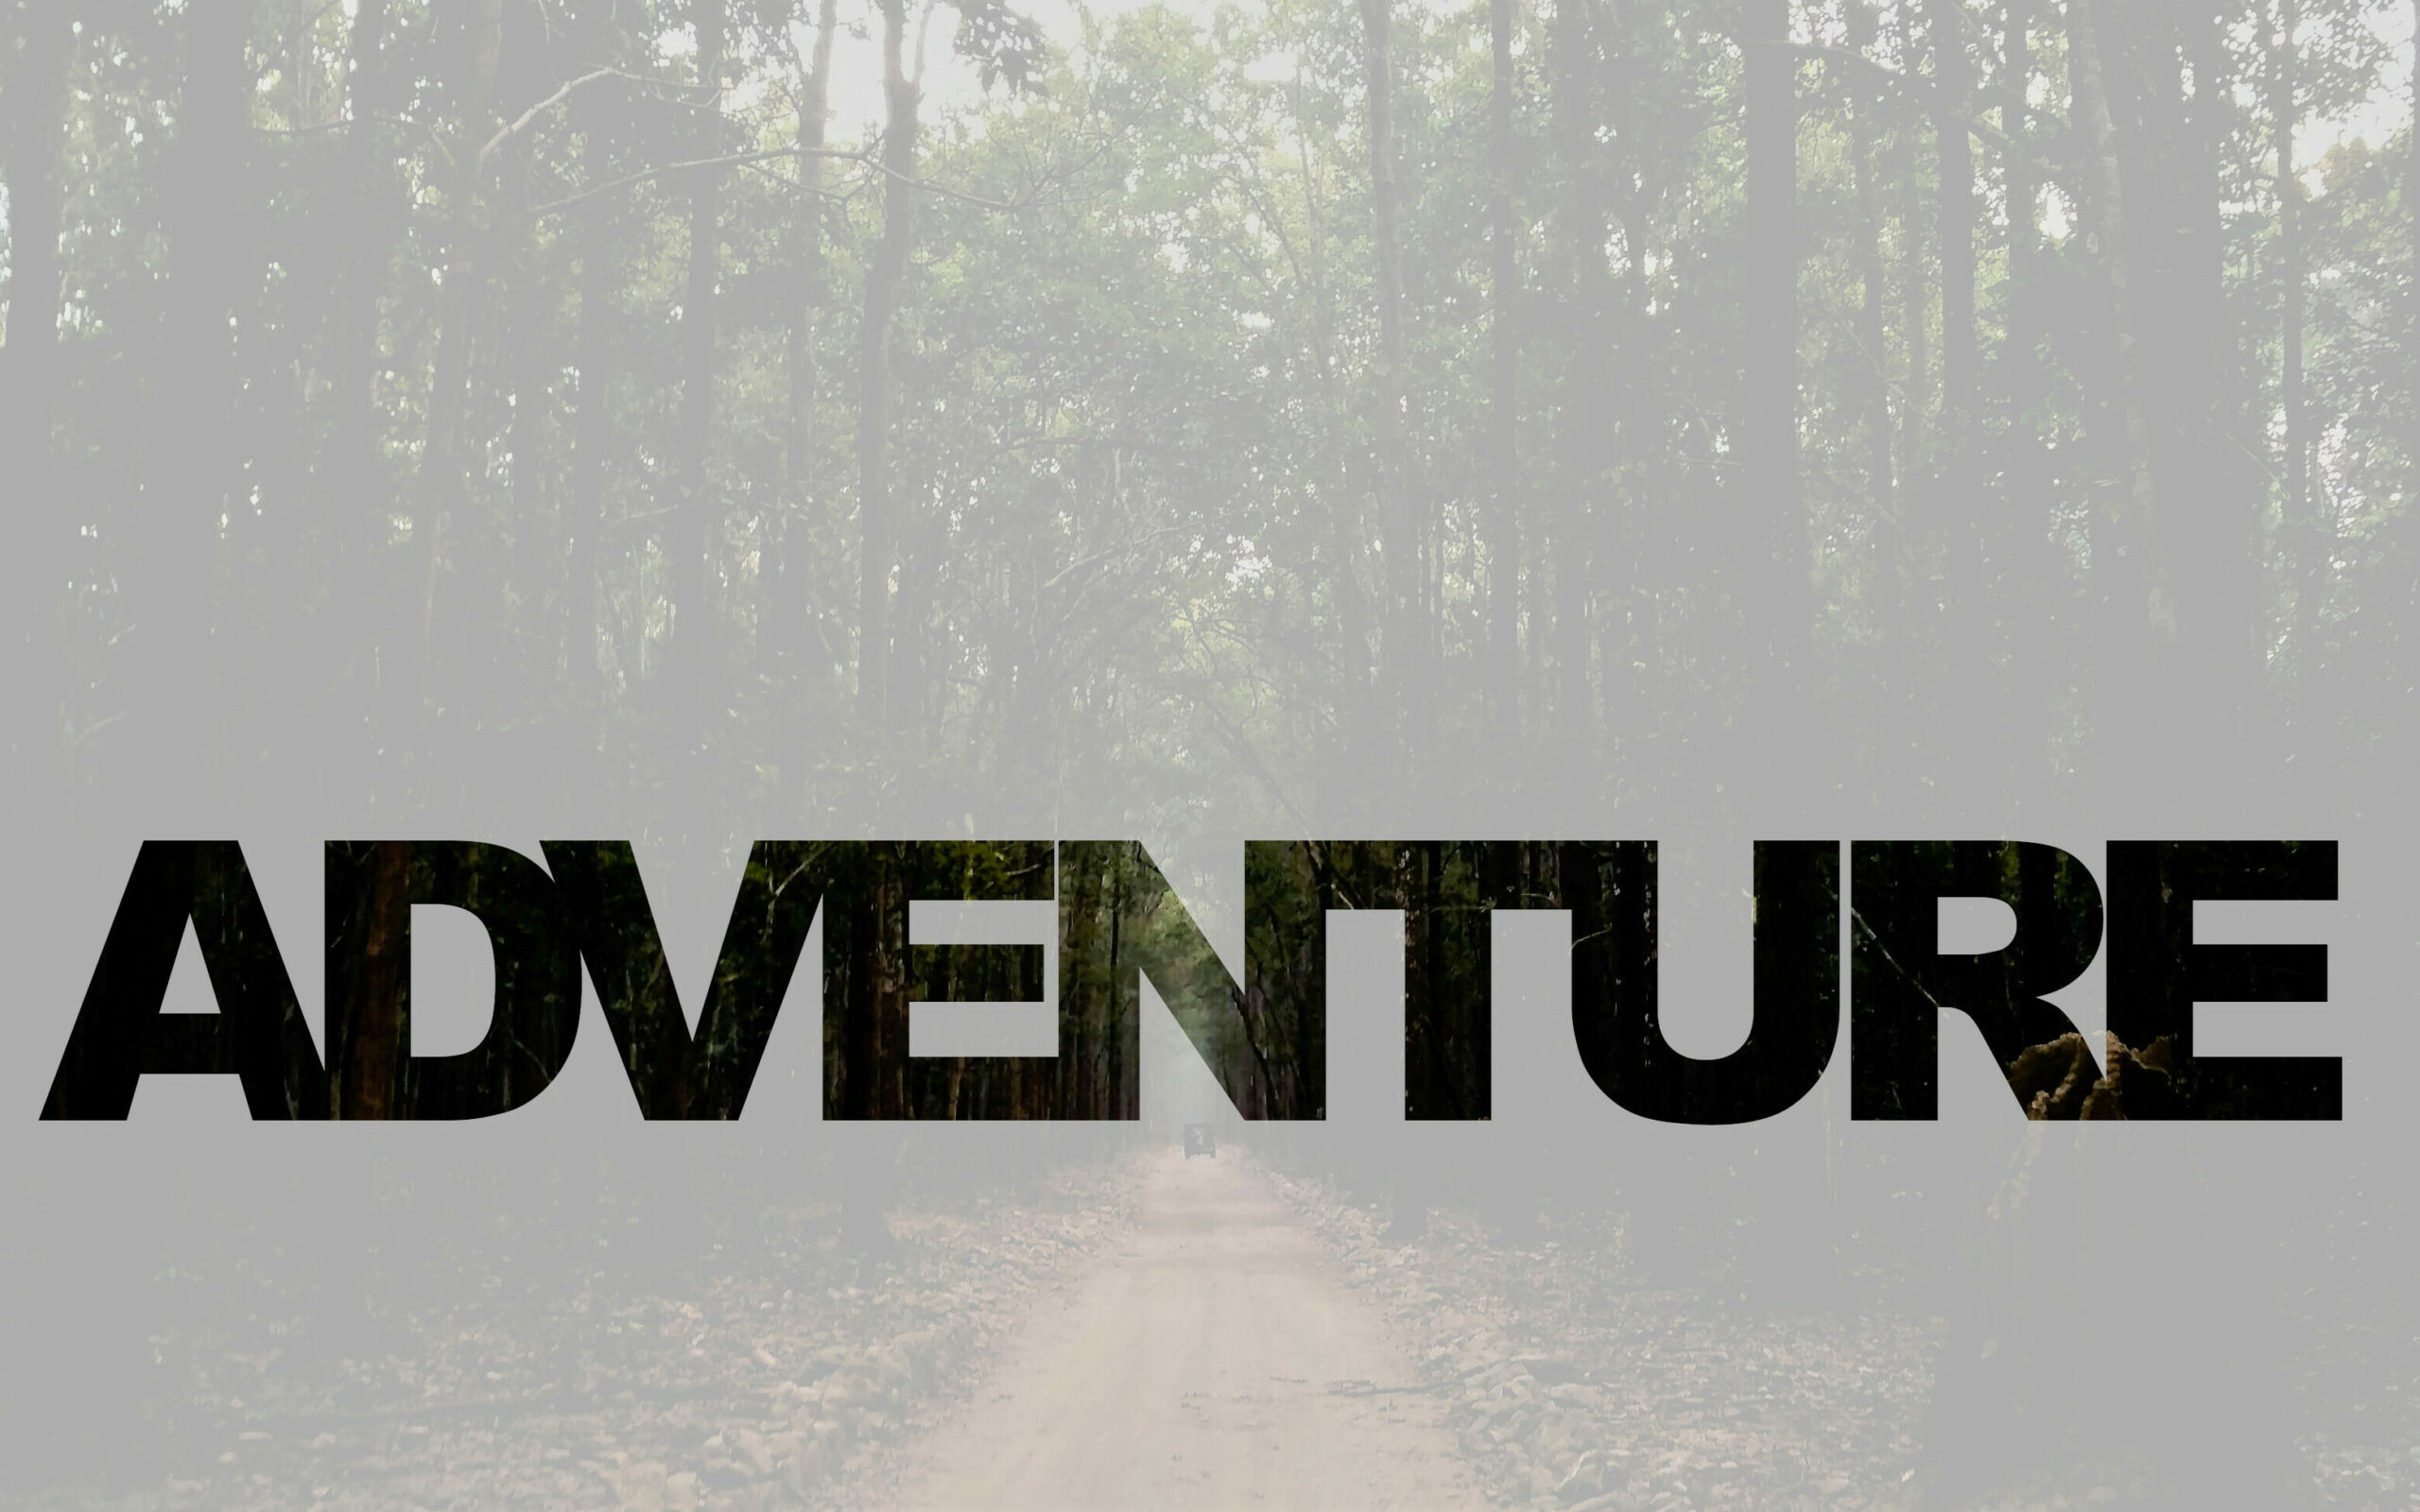
This final edit took me for a ride. I did not look at the final product before starting this edit and I was shocked and surprised by what I wan able to do by cutting out the letters to have the background show through and creating a film over the rest of the photo. Layering is something I have recently felt I did not understand very well but this activity taught me what it is and why it is so powerful. Being able to shape each layer in its own way and have them work together and separately makes so much more sense to me now that I have done this edit.

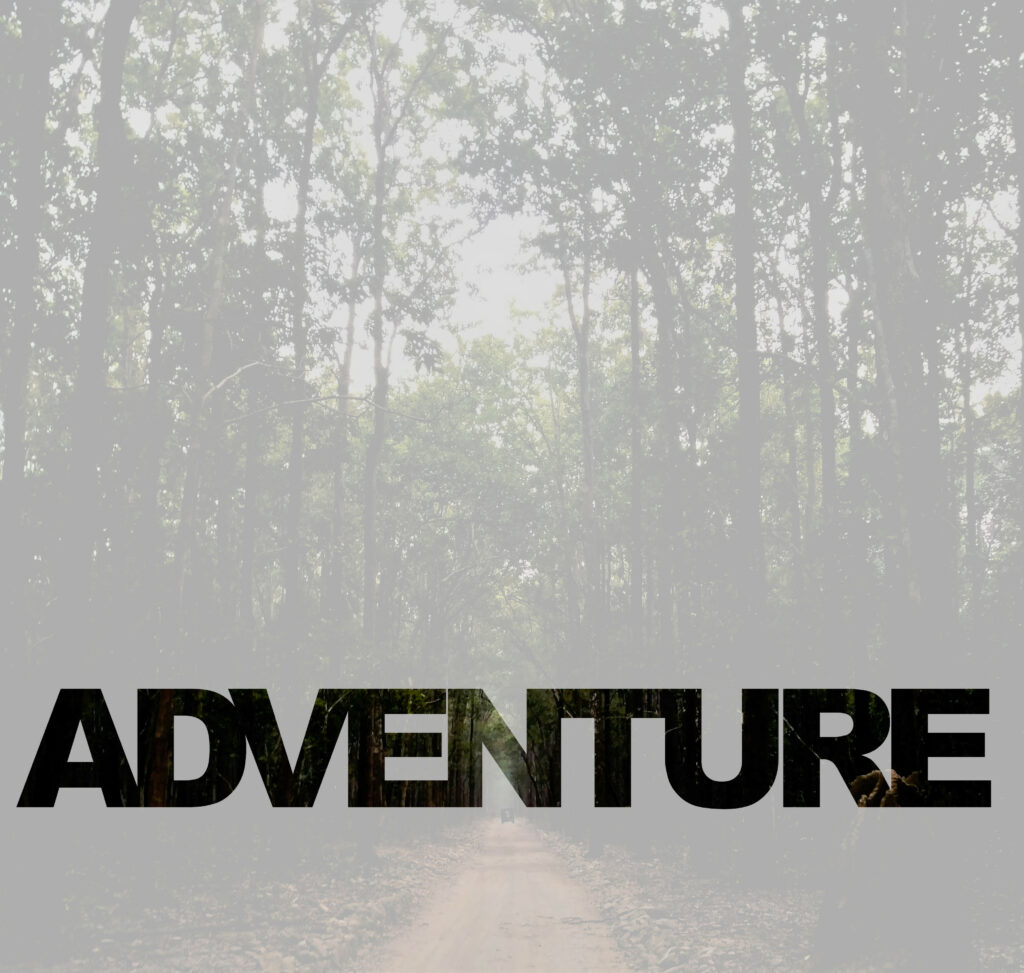
I was genuinely so proud of myself after this project because this is something my 13-year-old self used to obsess over and never could quite figure out how to do it! Now, fast forward a quick 12 years and here we are! Now that I know how to do this, Instagram better watch out….

So what?

Now that I have done this it begs the question why did this matter?

First of all, this software is free. It is a quick download and the learn time is relatively quick for how powerful the program is. One of the issues in technology in education is the financial accessibility. Programs like this are a great way to introduce students to the power of photo editing and open up the creative possibilities for them. This way, if a student wants to go further into photo editing and does want to invest in a paid software, they will have a basis to start with. This software, however, I think is powerful enough for what most students and teachers are going to want to do with it!

The more good, free, software programs available to us, the more we can use equitable programs in schools.

Now What?

Moving forward: I have decided not to delete this program from my laptop. This is a great way to edit personal photos. It will also be a great way for me to incorporate images into my upcoming flow chart project where I want to incorporate more images and AI just is not going to cut it. I want something that I have worked on and know is exactly how I want it to be.

I think this is a great program for students and hope to be able to bring it into the classroom. I think GIMP could be a great way to simplify digital storytelling and students could use photos they took personally, edit them with GIMP, and them show them as a series to describe an event or situation. Alternatively, GIMP could be a great way to help Spanish students remember vocabulary but creating images of the words they are trying to remember. Spending time editing a photo around a group of words could be rewarding and helpful!

While I think there are many ways teachers across a variety of subjects can find this useful in their classrooms, the most important part of this is its financial accessibility. Students have equal access to this and (provided they have a computer at home) can take projects home. I think the more we can do to incorporate software like this into the classroom, the more empowering it can be for students.

Weekly Reflection #6 Digital Curation and EdCamp

Photo by Guduru Ajay bhargav: https://www.pexels.com/photo/green-and-white-tents-near-trees-939723/

Part of this reflection will be about the EdCamp. Not a camp like the one pictured above, sadly, but a different kind that explored a different way to professional development.

This reflection will take on a different from from some of the last ones. I want to reflect on both parts of the lesson as they were both important to my learning journey but very different styles.

Digital Curation

This part of the lecture was a great reminder to me that I have a LOT of resources I am gathering during this program that are poorly organized. In the days following this lecture I sat down and spent some time organizing and am proud to say my safari bookmarks tab has never looked neater.

Summary (What)

Michael spent this part of the lesson explaining the importance of knowing where we keep things on our devices, knowing how we label things, and knowing where we got things from. This last part was not something I ever thought about before. I safe pdf files a lot from the internet and years later have no idea where I got it from or who the original author is. Since this lecture I have put some thought into how to organize myself better, organized my bookmarks, and spoken with some teachers in my family about how they keep themselves organized.

One question I have still unanswered from all that is what happens to our documents that we save in a school district google drive when we leave the district? Do those remain the property of the district, do we get to keep a copy of it, does it get moved to a new district? I have asked a few people now and no one seems to have an answer for me yet, so I plan to ask a teacher at my Link2Practice next week for more information.

What now

I use Microsoft OneNote for my school notes that I will need to convert to PDFs when I am done at Uvic as my access to this program will end with my time at university and I will want to keep copies of the notes I have so meticulously taken over my time in this program.

Below is an example of my notes from this class that I have converted to a PDF:

As I continue to gather information and resources, my organization will likely change. For now, this is what my bookmarks tab looks like with sections for teaching resources, school tabs, and my crochet hobby (patterns for Christmas gifts). This seems pretty basic at the moment but it allows for a lot of expansion as I gain more and more resources.

EdCamp

I have created a video to summarize my experience with the EdCamp activity. This is my first time using the zoom whiteboard and record feature so I apologize for the spelling errors, the sound quality (including the ding when I received a couple of texts…this was a learning process), and the sticky note informality.

I think this time to meet with peers who have similar interest and concerns was really inspiring for me as I brainstorm ways to make time in the outdoors a reality in an English class.

Weekly Reflection #5 Multimedia and Learning Design 

Photo by Prolific People Co: https://www.pexels.com/photo/woman-working-comfortably-with-laptop-and-coffee-29359858/

I spent quite a bit of time in homeschool and did about 50% of my undergrad during the pandemic. I found this lecture really encapsulated the importance of video and multimedia in my learning journey. I could not have completed my math without Kahn Academy, learned to love books without Goodreads, or make it through my literature degree without spark notes. I think each of this things have the capacity to hinder learning, but used well, the power to enhance it as well.

Summary (What)

Michael spoke about the creativity involved in using technology in the class from a design standpoint. The image below gives an idea of different types of technology in the classroom and what purpose they serve. Tools like this one are useful as you decide what technology to include in your classroom, when, and how. Even in Michael’s presentation when he used an image similar to this one, he cropped it in such a way that with every new slide we saw slightly more of the image. Not only is this a great way to demonstrate the things we can do with technology in the classroom, it gave us an example of how to limit distractions while we are planning for our lessons.

Constructive alignment is key when we are planning to use technology in our classes. Everything we do in class is taking us to some outcome, right down to the technology we use, the activities we incorporate, and the discussions we lead. As we plan and use technology we should reflect on how this impacts students. Is it distracting? Is it helpful? Is the technology getting in the way of the learning goal or aiding it? (Is it impeding students in an assignment or overstimulating them?)

After giving us examples of ways to use multimedia in our classrooms (imbedding videos and podcasts, using photos to explain) he explained the importance of using dual coding. This means both audio and visual methods of learning to help students remember information better.

I think this is a great way of keeping students engaged with the material. Whether the video is a YouTube embedded (to avoid the ads) or a video I made myself with a voice that is familiar to my students (to make it seem more authentic), video has a great place in the classroom.

  • It can be rewatched by students when they want to go back to remember how to do something or want something reexplained.
  • It can be watched when the students are most prepared to hear it (sometimes this is at home away from distracting peers or an overstimulating school environment).
  • Video can be more entertaining for some school subjects than teaching it in a classroom.
  • Video and multimedia can be heard and seen and so supports the dual coding process.

So what?

I spoke with my mom recently (a grade 2 teacher) who recommended I use visual timers in my classroom because it is a great way to remind students how long they have left on the task they are working on and how long they need to focus for. After a moment, she quickly said “Oh but be cautious about the timer noise and always make sure it is either silent or a calming sound!”. She was really adamant that a loud buzzer or anything else loud and shocking will overstimulate many kids and frustrate others. At best it will make them jump, at worst it will set students off and they might have a terrible rest of their day trying to self-regulate. I had never thought of this before and it is a great reminder that we need to be super aware of how the technology we use in our class might affect our students.

Watch the last few seconds of this video and you can see how this might be detrimental for many students. Not only is the background of the timer incredibly distracting (and somewhat dizzying), but the buzzer is abrupt and annoying.

This timer is calming with nice background music, nature sounds, and no timer sound at the end (the video simply ends). While this is relaxing it might also be distracting and the lack of a sound at the end might null the point of having a timer at all.

This last option is a simple black and white video with only minimal sounds at the end to indicate the last five seconds have arrived. Something like this could be a great option for silent reading time as it gently brings students back to the classroom and indicates the end of reading time.

The point of these three videos is to demonstrate my mom’s point that every decision counts in the classroom. A digital timer is helpful for displaying the time left in the activity for students, but things like noise, images, ads, and buzzer sounds can seriously detract from the positives.

This is another reason embedding videos is a really good idea. When you watch a video on YouTube the students are able to see video recommendations (which, if using your personal account, might feel a bit vulnerable), ad pop ups, and other distracting things. When a video is embedded it reduces the distractions while making it more convenient.

Now what?

https://www.powerschool.com/blog/samr-model-a-practical-guide-for-k-12-classroom-technology-integration/

This is am image like the one used in class and below is an example of how to present this in class in an organized and less distracting way. This took me 3 minutes to create the slides and record this video. It is not a difficult thing to do.

Things like videos in class are really important as well. I took a couple of really challenging history classes in my undergrad and John Green”s “Crash Course” is a great example of how I was able to use YouTube to understand what the heck was going on in these super boring 3-hour-long lectures. Like this crash course on US history (this is a long series but here he introduces what will be covered).

I think, moving forward, I will enjoy using technology in my class as I found it incredibly useful as a student. This lesson and the proceeding conversation with my mom has made me realize how much I need to pay attention to what might take away from the experience of using technology in my classroom and to keep in mind the state of the children I will be teaching.