In today’s adventure we moved away from anything video related to 1) give my brain a break from editing so much video and 2) to try something intimidating to me in another way: photo editing.
I have shied away from photo editing for a long time because my partner is a photographer and if I ever need anything edited he is my go to. Today I decided to take matters into my own hands and edit a photo myself. Or, as the workshop decided, edit 4 photos myself. Please walk with me through this journey.
What
GIMP is a photo editing software that is on a similar level to Photoshop, but free. Historically it has been seen as the less powerful younger cousin, but in recent updates its abilities have increased and I found it a very useful tool. I will be working with GIMP 2.10.
To use this software you need to download it to your computer (it is free, as I mentioned before and the downloading process was very straight-forward). The workshop I followed led me through a series of four edits to make with four different photos. This process taught me how to crop and centre photos, how to make a photo black and white (and alter gradients and brightness in more than one way), how to expand the background of an image to fit a larger canvas, and how to work with text on photos.
Edit #1


This is my first photo edit, the photo on the left is the original photo from Pixel and the photo on the right is my edited photo where I cropped it down. This was really easy for me, I have cropped hundreds of photos before and it was straightforward in this software. What a lovely change from my previous tech tutorials!
Nonetheless, here is a quick screen recorded video of me doing just that for your entertainment.
This was quick, simple, and got my confidence up for the next activities….was it false confidence? Let’s find out!
Once this was over I moved on the activity #2.
Edit #2
The second edit is by far my least favourite product I will post here. I left the photo oversaturated but did not realize until after I exported the image and compared them side by side (see below). I did, however, feel really great about my ability to remove the screws in the post. This is something I feel I will come back to GIMP to do with other photos when there are components I would like to blur out. (Face-tune anyone????)
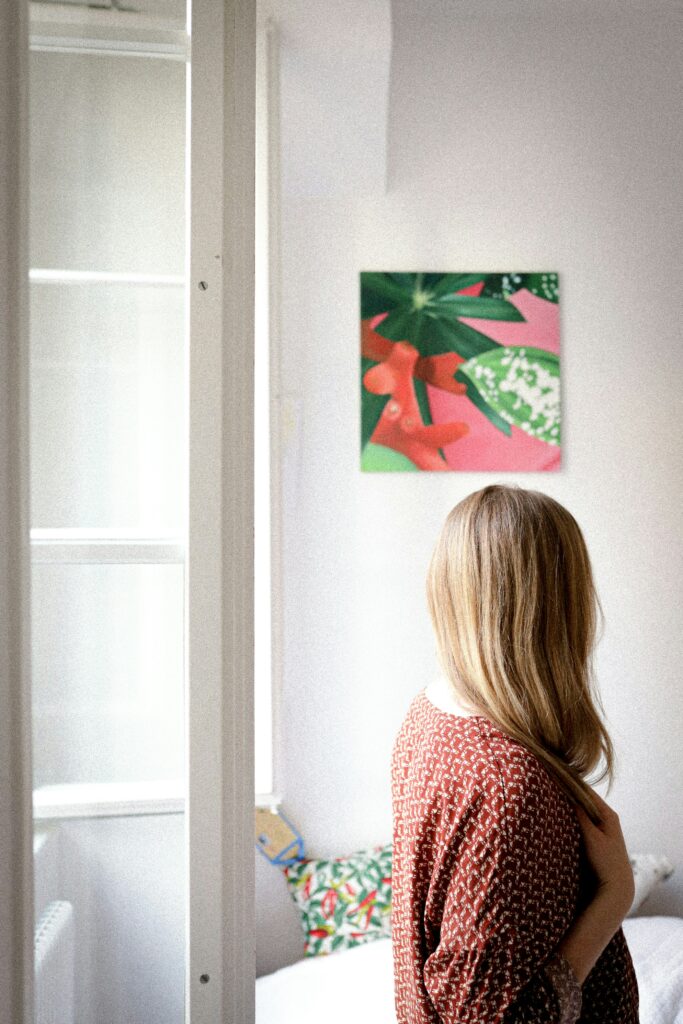
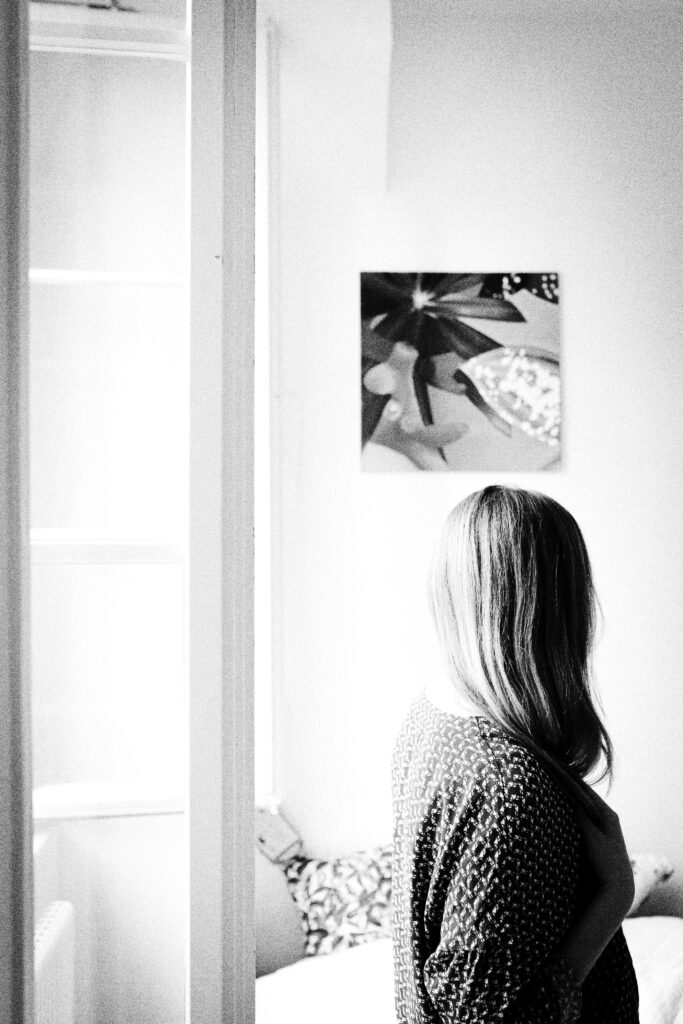
Here is a sped up video of me trying really hard to figure out how to do this. As you can see there was a lot of back and forth between the workshop site and my GIMP software to work this one out but I am confident that I could do it again without assistance. This software is fairly straightforward and the drop-down menus are helpful when you are looking for something.
Edit #3
This edit taught me a brand new skill! I was able to take this cute photo and turn it into a letter sized page in GIMP! I was able to keep the aspect ratio the same and not blow up the image but keep the background colour the same across a larger canvas. This is a great skill to have and something I can see myself using in the future to create cute boards to laminate and have my students draw on, spruce up some worksheets, or create a smoother finish to put student work on before putting it up in my classroom.


Please enjoy this video of me creating my masterpiece.
But really though, how cute would this look as the background to a Spanish workout sheet about summer vacation plans?
I felt this went pretty smooth but it was not until I went back and looked at this video that I realized how much I was panning back and forth between the GIMP software and the workshop site. I may need to refer back to this site next time I use GIMP which is ok with me as I will have access to this site for a while.
Edit #4
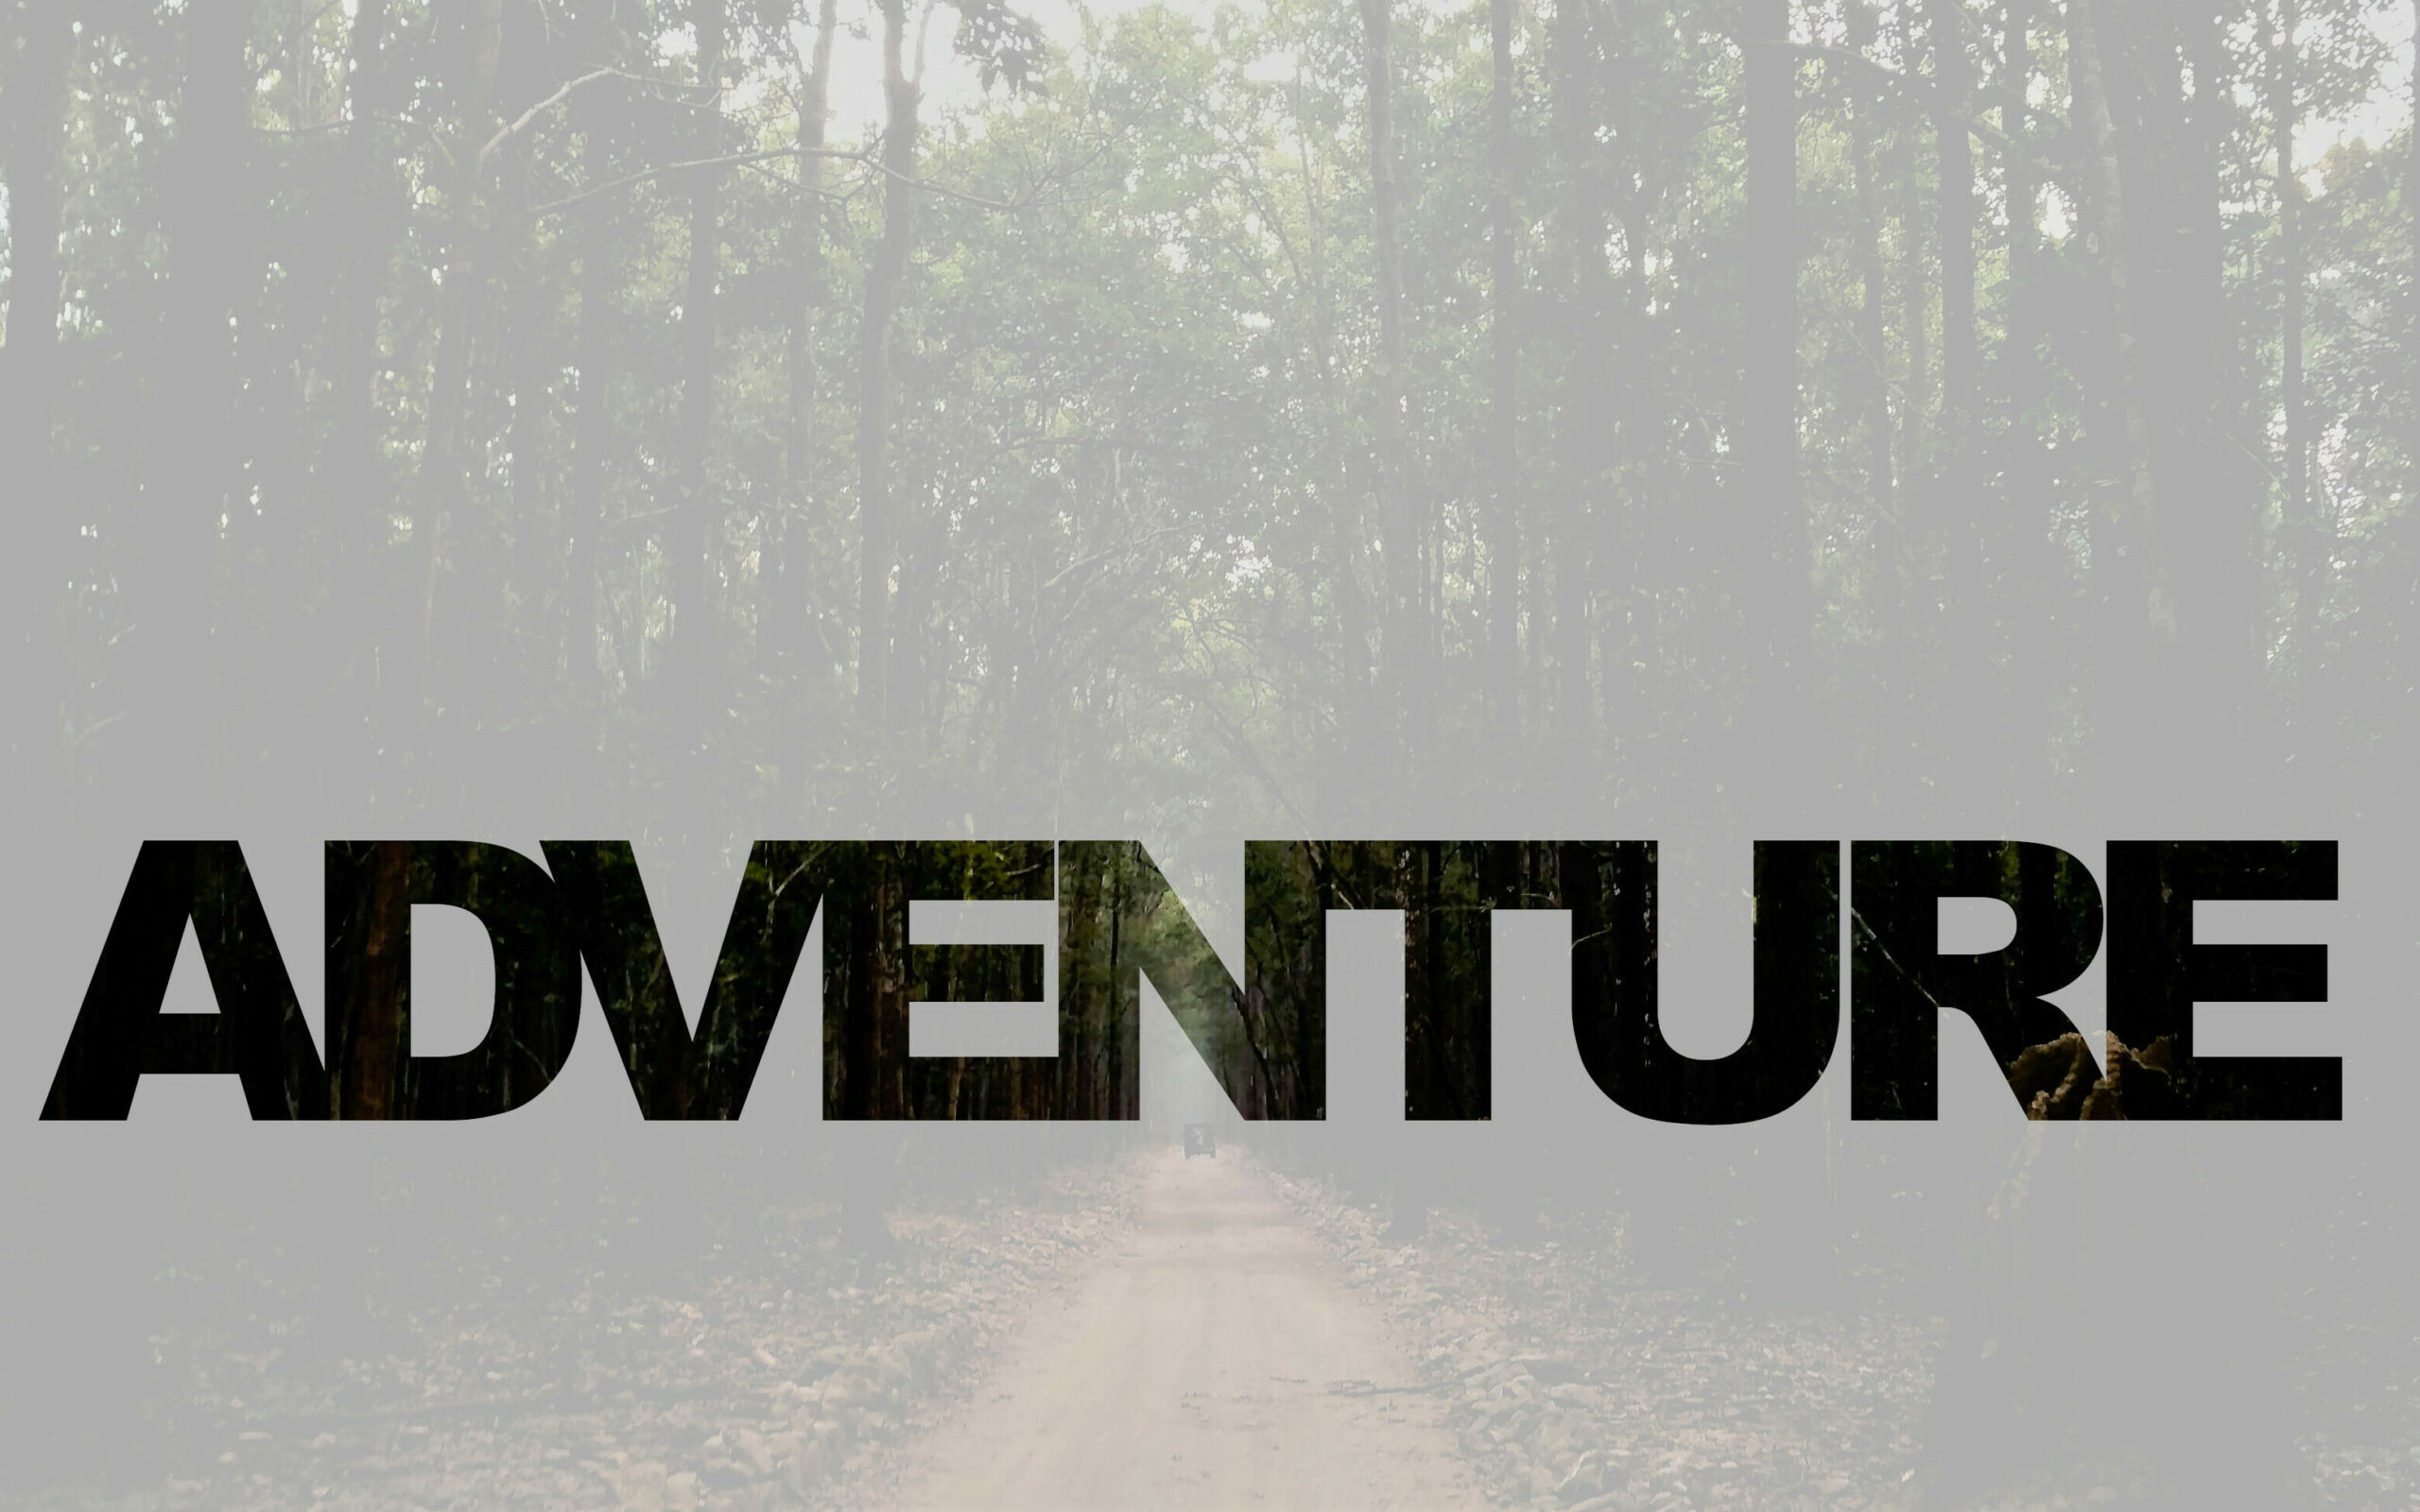
This final edit took me for a ride. I did not look at the final product before starting this edit and I was shocked and surprised by what I wan able to do by cutting out the letters to have the background show through and creating a film over the rest of the photo. Layering is something I have recently felt I did not understand very well but this activity taught me what it is and why it is so powerful. Being able to shape each layer in its own way and have them work together and separately makes so much more sense to me now that I have done this edit.
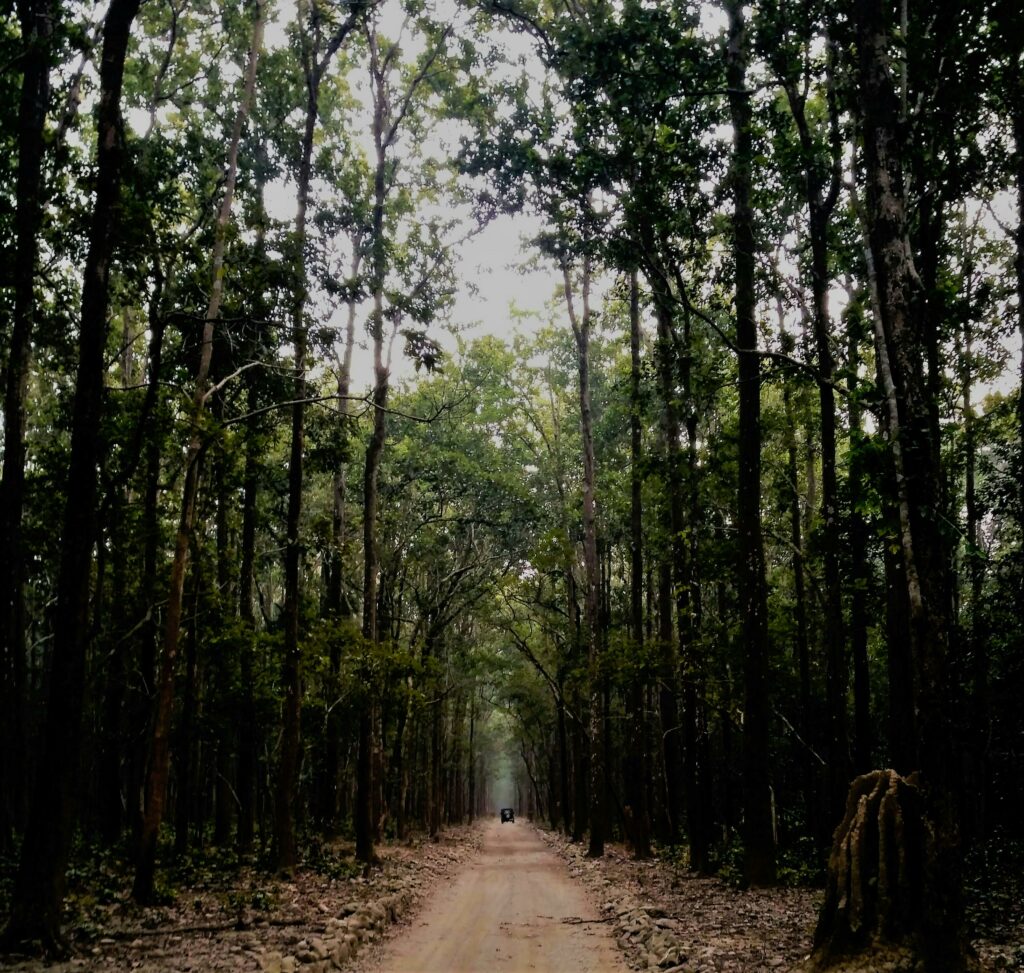
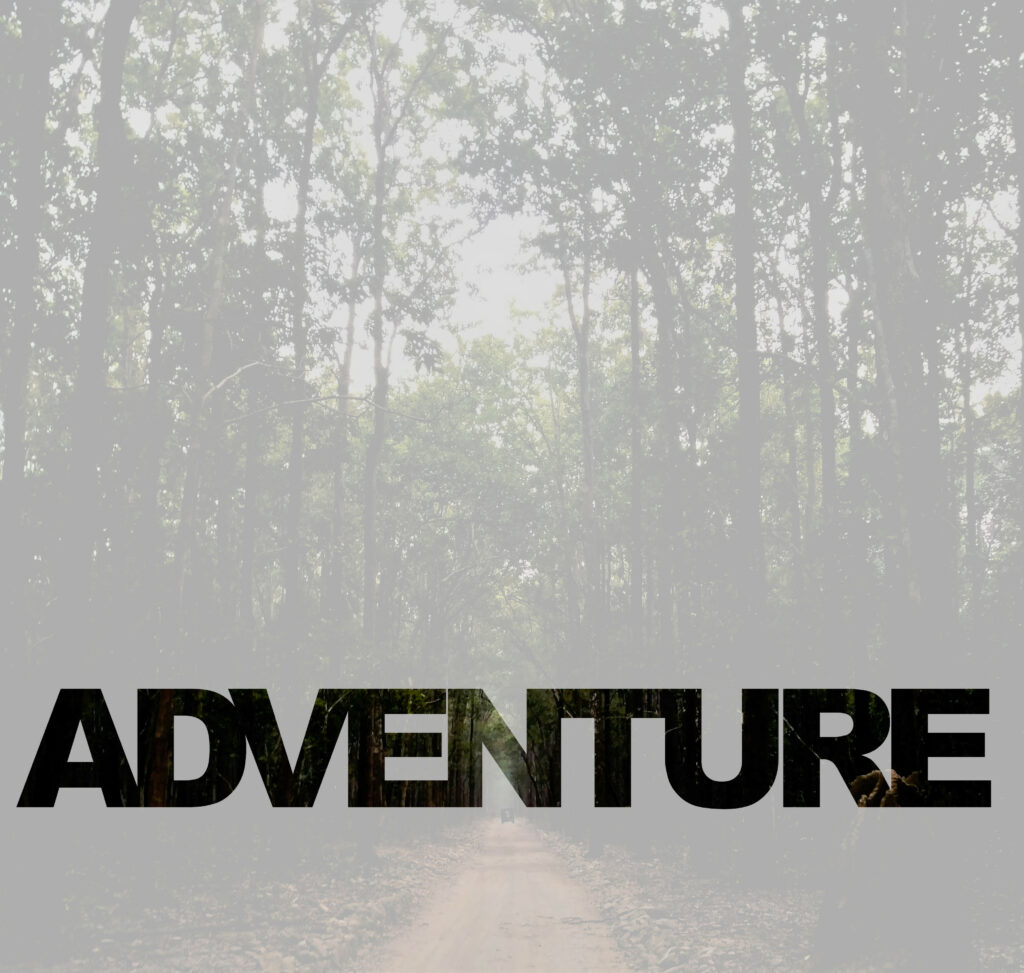
I was genuinely so proud of myself after this project because this is something my 13-year-old self used to obsess over and never could quite figure out how to do it! Now, fast forward a quick 12 years and here we are! Now that I know how to do this, Instagram better watch out….
So what?
Now that I have done this it begs the question why did this matter?
First of all, this software is free. It is a quick download and the learn time is relatively quick for how powerful the program is. One of the issues in technology in education is the financial accessibility. Programs like this are a great way to introduce students to the power of photo editing and open up the creative possibilities for them. This way, if a student wants to go further into photo editing and does want to invest in a paid software, they will have a basis to start with. This software, however, I think is powerful enough for what most students and teachers are going to want to do with it!
The more good, free, software programs available to us, the more we can use equitable programs in schools.
Now What?
Moving forward: I have decided not to delete this program from my laptop. This is a great way to edit personal photos. It will also be a great way for me to incorporate images into my upcoming flow chart project where I want to incorporate more images and AI just is not going to cut it. I want something that I have worked on and know is exactly how I want it to be.
I think this is a great program for students and hope to be able to bring it into the classroom. I think GIMP could be a great way to simplify digital storytelling and students could use photos they took personally, edit them with GIMP, and them show them as a series to describe an event or situation. Alternatively, GIMP could be a great way to help Spanish students remember vocabulary but creating images of the words they are trying to remember. Spending time editing a photo around a group of words could be rewarding and helpful!
While I think there are many ways teachers across a variety of subjects can find this useful in their classrooms, the most important part of this is its financial accessibility. Students have equal access to this and (provided they have a computer at home) can take projects home. I think the more we can do to incorporate software like this into the classroom, the more empowering it can be for students.